Sewing stitches are the building blocks of any sewing project, allowing you to join fabrics, create decorative accents, and ensure the longevity of your creations. In this blog, we will take you through an exploration of both hand-sewing and machine-sewing stitches, providing step-by-step instructions, tips, and insights into their various applications.

Before diving into the world of sewing stitches, it's important to gather the essential tools and materials. Here's a breakdown of what you'll need:
- Sewing Needles: Invest in a variety of sewing needles that are suitable for different types of stitches. Choose needles with sharp points for woven fabrics and ballpoint or stretch needles for knits. Having a range of needle sizes allows you to accommodate various fabric weights.
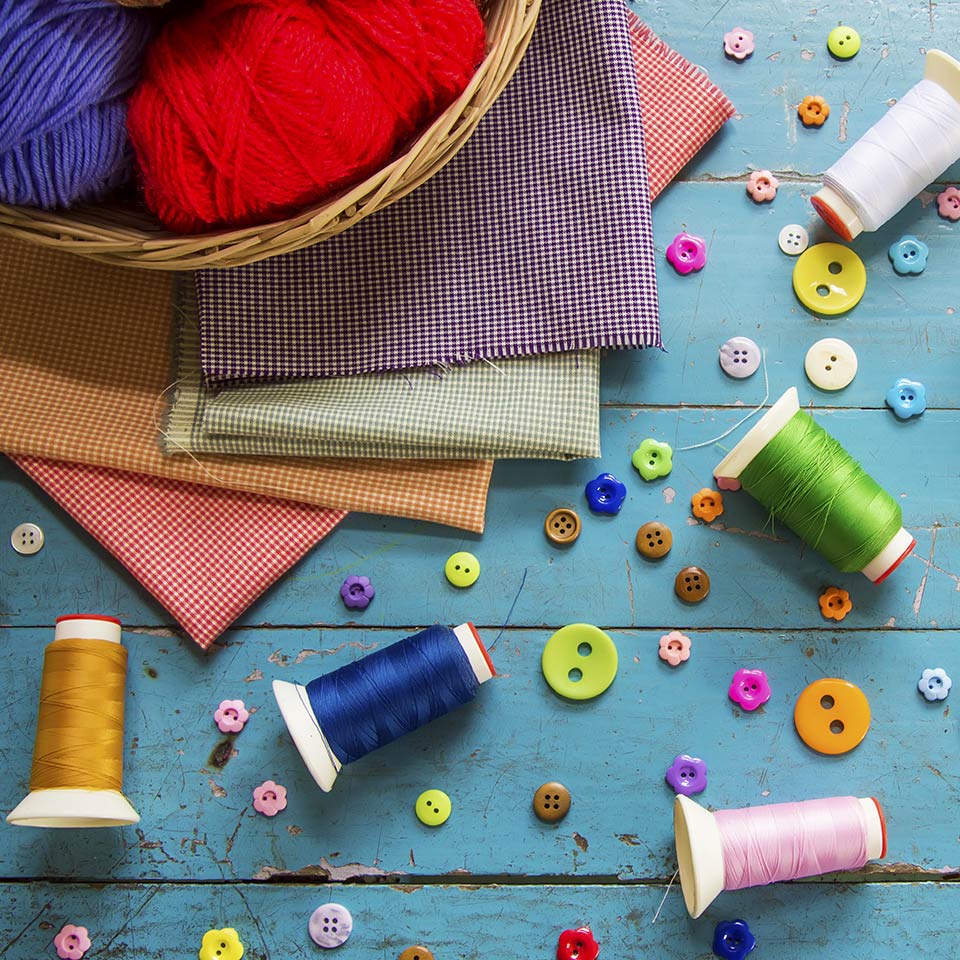
- Thread: Select a high-quality thread that matches your fabric. Polyester or cotton thread is commonly used for most sewing projects. Consider having a few basic colours on hand - such as black, white, and neutral shades - as well as some vibrant colours for decorative stitching.
- Scissors: Invest in a pair of sharp fabric scissors that are solely dedicated to sewing. These should only be used for cutting fabric and thread to ensure clean cuts and prevent damage to your materials.
- Seam Ripper: Mistakes happen, and a seam ripper is a handy tool for undoing stitches. Look for one with a sharp point and a comfortable grip to help you remove stitches without damaging the fabric.
- Pins and Pincushion: Keep a collection of straight pins to hold fabric pieces together during sewing. A pincushion will keep your pins organised and within reach while you work.
- Measuring Tools: Accurate measurements are crucial for successful sewing. Have a measuring tape or a ruler handy for taking precise measurements, marking seam allowances, and ensuring proper fit.
- Iron and Ironing Board: Pressing your fabric and completed seams is key to achieving professional-looking results. An iron and ironing board will help you to remove wrinkles, flatten seams, and set stitches.
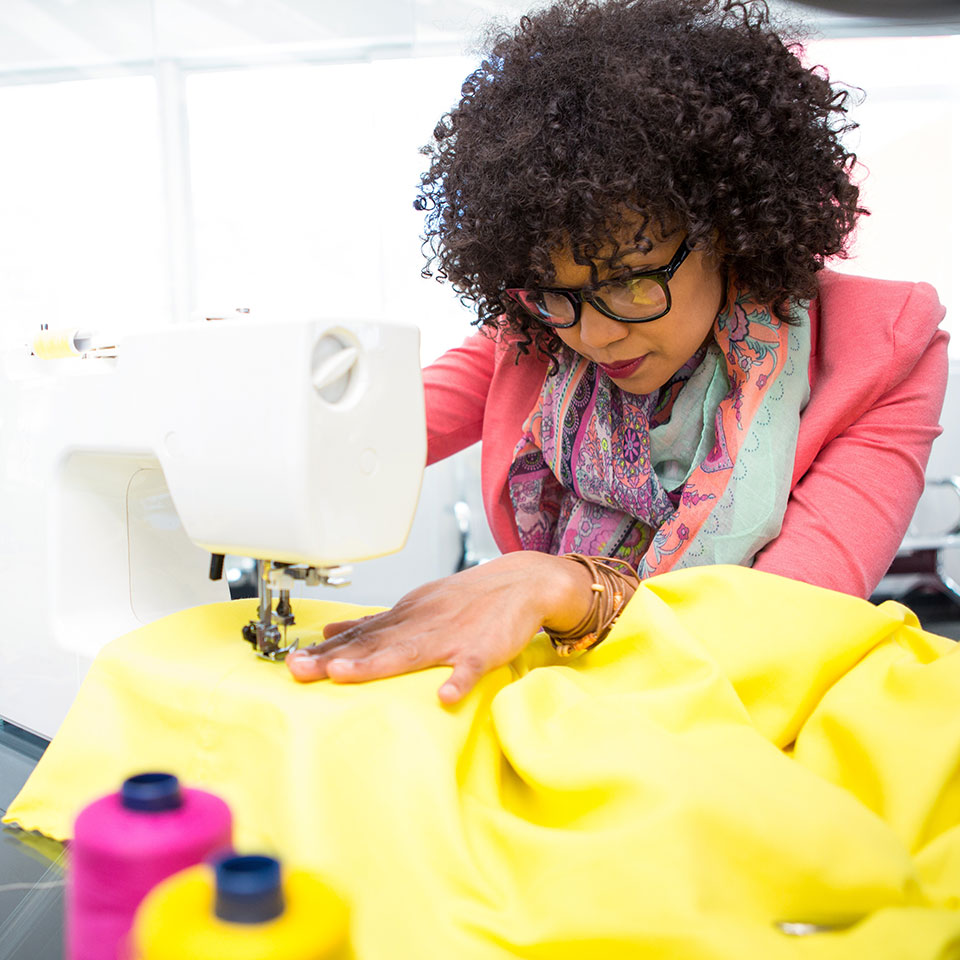
- Sewing Machine: While hand sewing is valuable, having a sewing machine expands your capabilities. Choose a machine that suits your needs and budget, ensuring it offers a variety of stitch options and adjustable settings.
- Fabric and Notions: Lastly, gather a selection of fabrics that are suitable for your projects, along with any additional necessary notions, such as buttons, zippers, bias tape, or interfacing.
Hand Sewing Stitches
Running Stitch
The running stitch is one of the most basic and versatile hand stitches. It is created by passing the needle in and out of the fabric at regular intervals. The running stitch is primarily used for basting, gathering fabric, and joining lightweight fabrics temporarily. To create a running stitch, follow these steps:
- Thread your needle and knot the end of the thread.
- Bring the needle up through the fabric, then insert it back down a short distance away.
- Repeat this process, maintaining even stitch lengths, until you reach the desired length.
Backstitch
The backstitch is a stronger hand stitch that’s suitable for securing seams and creating durable stitches. It is commonly used for hand-sewn hems, attaching trims, and sewing seams where extra strength is required. Follow these steps to execute a backstitch:
- Start by bringing the needle up through the fabric, a short distance from the starting point.
- Insert the needle back down at the starting point and come up a stitch length away.
- Instead of moving forward, insert the needle back down through the previous stitch, creating a backward stitch.
- Repeat the process, always moving one stitch length forward and backtracking through the previous stitch.
Slip Stitch
The slip stitch, also known as the blind stitch, is nearly invisible from the right side of the fabric and is ideal for hemming, attaching linings, and making invisible closures. Here's how to make a slip stitch:
- Fold the fabric edge you want to stitch and align it with the desired position.
- Insert the needle into the folded edge, catching a small amount of fabric from the main piece.
- Bring the needle out slightly to the side, catching a tiny bit of fabric from the main piece.
- Repeat the process, creating small, nearly invisible stitches that blend into the fabric.
Blanket Stitch
The blanket stitch is not only functional but also adds a decorative touch to the edges of fabric, appliqué, or felt projects. It is commonly used to prevent fabric from fraying and to create attractive finishes. Follow these steps to create a blanket stitch:
- Start by bringing the needle up through the fabric edge, a short distance from the starting point.
- Insert the needle back down near the starting point, creating a diagonal stitch.
- Before pulling the thread tight, bring the needle up through the fabric loop that’s created by the previous stitch.
- Repeat the process, creating evenly-spaced diagonal stitches with loops along the edge.
Whipstitch
The whipstitch is a simple and quick hand stitch that’s used for joining fabric edges, sewing seams, or attaching trims. It is especially useful when you’re working with heavier fabrics or fabrics that do not fray. Here's how to whipstitch:
- Align the fabric edges you want to join, with the right sides facing each other.
- Starting at one end, insert the needle through both fabric layers, creating a small diagonal stitch.
- Bring the needle back through the fabric layers, a short distance away, creating a diagonal stitch in the opposite direction.
- Repeat the process, alternating the direction of the stitches, to securely join the fabric edges.
Machine Sewing Stitches
Straight Stitch
The straight stitch is the most basic and commonly-used stitch on a sewing machine. It is perfect for seaming, topstitching, and creating clean, straight lines. To sew a straight stitch:
- Select the straight stitch setting on your sewing machine.
- Adjust the stitch length according to your project; shorter stitches provide more strength, while longer stitches are suitable for basting.
- Align the fabric layers, lower the presser foot, and guide the fabric steadily as you sew.
Zigzag Stitch
The zigzag stitch is versatile and widely used for finishing fabric edges, preventing fraying, and creating decorative details. It also allows for some stretch, making it suitable for sewing knit fabrics. To use the zigzag stitch:
- Select the zigzag stitch setting on your machine.
- Adjust the stitch width and length based on your desired outcome; wider stitches are useful for securing edges, while narrower stitches create finer details.
- Guide the fabric smoothly as you sew, allowing the zigzag motion to cover the fabric edge or create decorative patterns.
Buttonhole Stitch
The buttonhole stitch is specifically designed for creating buttonholes, securing them, and preventing fraying. Most modern sewing machines have a built-in buttonhole stitch setting, making the process easier. Follow these steps to sew a buttonhole:
- Mark the buttonhole placement on your fabric.
- Select the buttonhole stitch on your sewing machine and attach the buttonhole foot.
- Position the fabric under the foot, ensuring the buttonhole mark aligns with the starting point.
- Lower the presser foot, start the machine, and let it automatically sew the buttonhole according to the selected length.
- Once the buttonhole is complete, carefully cut open the centre with a seam ripper or sharp scissors.
Overlock Stitch
The overlock stitch (also known as a serged stitch) is used for finishing fabric edges, preventing fraying, and creating professional-looking seams. While it is commonly sewn with a serger machine, some sewing machines offer an overlock stitch option. To achieve an overlock stitch:
- Select the overlock stitch setting on your sewing machine or switch to a serger machine.
- Align the fabric edge under the foot and guide it steadily as the machine sews the stitch, simultaneously trimming and encasing the fabric edge.
Blind Hem Stitch
The blind hem stitch is perfect for creating nearly invisible hems on garments, curtains, and other fabric items. It is often used when you want the stitching to be discreet on the right side of the fabric. To sew a blind hem stitch:
- Select the blind hem stitch setting on your sewing machine.
- Fold the fabric edge to create the desired hem width and press it in place.
- Align the folded edge with the guide on the machine's presser foot.
- Lower the presser foot, guide the fabric, and let the machine create small, nearly invisible stitches that catch a small portion of the folded hem.
Choosing the Right Stitch
Selecting the appropriate stitch for your sewing projects is crucial for achieving the desired results. Here are some tips and considerations to help you choose the right stitch!
Fabric Type and Weight
Consider the fabric you are working with. Different fabrics have unique characteristics and may require specific stitches. For lightweight fabrics like silk or chiffon, opt for delicate stitches like the straight stitch or a fine zigzag stitch. Heavier fabrics (like denim or upholstery materials) may benefit from stronger stitches like the straight stitch or an overlock stitch.
Seam or Hem Requirements
Evaluate the purpose of your stitch. Are you sewing a seam that requires strength and stability, or are you creating a decorative hem? For sturdy seams, the straight stitch or a reinforced stitch like the backstitch or overlock stitch is suitable. Decorative hems may call for a decorative stitch like a blanket stitch or a machine embroidery stitch.
Functionality
Consider the functional requirements of your project. If you are creating buttonholes, use the buttonhole stitch or a machine with a built-in buttonhole function. For stretchy fabrics or areas that require flexibility (such as activewear or elastic waistbands), choose a stretch stitch or a zigzag stitch that allows for movement.
Decorative Elements
If you want to add decorative details to your project, explore the possibilities that are offered by your sewing machine. Look for decorative stitches like scallops, satin stitches, or appliqué stitches. These can elevate your creations and add unique visual interest!
Practice and Familiarise
Take the time to practise stitching on different fabric samples. Familiarise yourself with the stitch settings on your sewing machine and understand how they affect the appearance and functionality of the stitches. This hands-on experience will give you more confidence when you’re choosing the right stitch for future projects.
If you're passionate about sewing and are eager to take your skills to the next level, our Sewing Diploma Course is a great place to start. For just £29 (save £68!), you'll explore how to master intricate stitches, learn advanced garment construction techniques and how to create professional finishes.