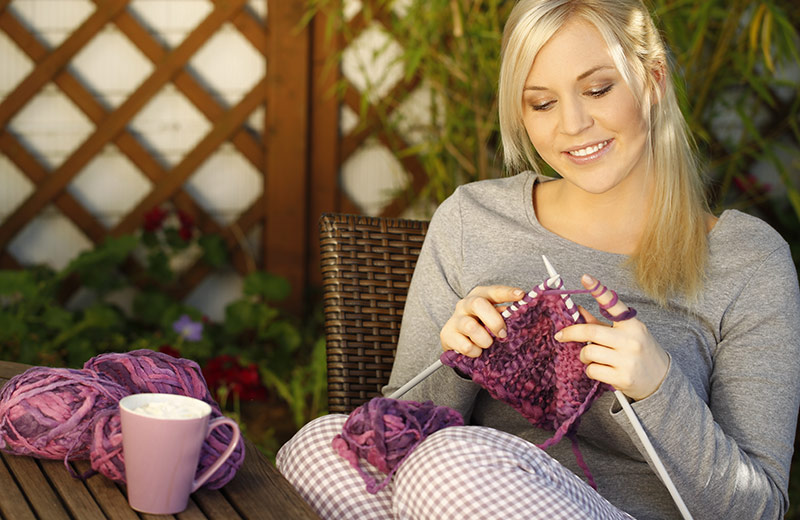
Knitting is a fun and rewarding skill that anyone can learn - who wouldn’t want to knit their own cosy scarves or beautifully-comfy jumpers for winter? In this beginner’s guide, we’ll walk you through how to get started with knitting and show you the must-know stitches, so you can start knitting your own creations today.
Jump to:
Getting Started with Knitting
To start your knitting journey, you'll need a few basic supplies.
- Yarn - As a beginner, it’s advisable to start with a (worsted) medium-weight yarn, as it’s easier to work with.
- Knitting Needles - A pair of straight knitting needles in a medium size, UK size 6 (5mm).
- Scissors
- Tapestry Needle - A needle with a large eye for weaving in yarn ends and finishing your projects.
- Measuring tape - For checking your project dimensions.
When you’re selecting your yarn and needles, you need to consider the yarn weight, colour, texture, and needle size. The weight of the yarn affects the thickness and warmth of your project. As you become more experienced, you can experiment with different weights but, as a beginner, worsted weight yarn is the best choice. Remember to keep in mind that some textured yarns may hide certain stitch details, so find a texture that suits your design the most. Finally, the size of your needles should match the yarn weight that you’ve chosen. Lots of yarn labels include the recommended needle size, but starting with medium-sized needles is a good rule of thumb.
Recommended for you!
Best Sellers


How to Start Knitting – Casting On
Before you can start knitting, you need to get your yarn onto the needles. This is known as “casting on”. Here are 3 common casting methods to help get you started.
Slip knot
The slip knot is the very first stitch on your needle. It’s essentially a loop that can easily be adjusted and tightened around it.
- First make a loop. Hold the yarn end in your right hand and drape it over your left index finger to form a loop.
- Cross the end of the yarn over the loop and tuck it through the hole you’ve created.
- Pull the ends gently to secure the knot on your needle. You want to make sure it’s snug, but not too tight.
Long-tail Cast on
The long-tail cast on is commonly used and creates a neat and elastic edge for your knitting.
- Leave a tail of yarn that’s about three times the width of your final project.
- Create a slip knot, leaving a loop.
- Use your thumb and index finger to hold the slip knot loop on your needle. The tail and working yarn should dangle from your hand.
- Position the needle under the working yarn and over the tail. Wrap the working yarn around the needle from left to right.
- Insert the needle into the slip knot and use it to catch the strand of yarn from underneath, pulling it through the loop. This creates a new stitch on the needle.
- Tighten the stitch slightly, but not too tightly, and then repeat steps 4 and 5 until you have the desired number of stitches.
Knit Cast On
The knit cast on is a simple method that mimics the knit stitch (discussed later) and works well when you need to cast on stitches in the middle of your work.
- Begin with a slip knot on your left-hand needle.
- Insert the right-hand needle into the slip knot as if you were going to knit, wrap the yarn around, and pull it through the slip knot. You've created a new stitch!
- Slip the newly-formed stitch onto the left-hand needle. You now have two stitches.
- Continue by knitting into the new stitch, transferring it to the left needle, and repeating the process until you have the desired number of stitches.
Fundamental Knitting Techniques
The Knit Stitch
We briefly mentioned the knit stitch, which is one of the two foundational stitches in knitting; the other one is the purl stitch. It's a simple technique where you insert the needle into a stitch, wrap the yarn around the needle, and pull it through, creating a new loop on the right-hand needle. The knit stitch creates a "V" pattern on the front of the work and is normally used for the right side (public side) of the fabric.
The Purl Stitch
The purl stitch is essentially the reverse of the knit stitch. When you purl, you insert the needle from right to left, wrap the yarn counterclockwise, and pull it through to create a loop. It creates a bumpy pattern on the front of the work and is often used for the wrong side (non-public side) of the fabric. Like the knit stitch, the purl stitch isn't a pattern by itself, but it's used in combination with other stitches to create various textures and patterns.
Basic Knitting Patterns
As a beginner, you’ll want to start with some basic knitting patterns that allow you to practise the knit and the purl stitches. Below we’ve listed the 4 most important knitting patterns that you should know.
Garter Stitch
The garter stitch is the simplest and most basic of all knitting patterns. It's created by knitting every row, and the result is a fabric with a bumpy texture. It’s reversible and lays flat, and is perfect if you’re knitting scarves and baby blankets, as it doesn't curl at the edges.
- Cast on your desired number of stitches.
- Knit every row.
- Continue knitting every row until your project is the desired length.
Stockinette Stitch
The stockinette stitch creates a smooth flat fabric texture with a “V” pattern on one side and purl bumps on the other. Unlike the garter stitch, this one tends to curl at the end, so you may need to add a border to it.
- Cast on your desired number of stitches.
- Alternate between knitting one row (right side) and purling the next row (wrong side).
- Continue this pattern until your project reaches the desired length.
Ribbing
Ribbing is normally used for cuffs, hems, and collars. It alternates between knit and purl stitches in the same row, and creates a stretchy, textured fabric.
- Cast on an even number of stitches.
- K1, P1 - Knit one stitch and purl one stitch. Repeat this pattern for every row.
- Repeat K1, P1 for every row.
Seed Stitch
The seed stitch is a textured pattern that creates a fabric with a bumpy, pebbled appearance. It's made by alternating knit and purl stitches within the same row.
- Cast on an even number of stitches.
- K1, P1 - Knit one stitch and purl one stitch. Repeat this pattern for every row.
- On the next row, start with the opposite stitch - P1, K1 (purl one stitch and knit one stitch)
- Continue alternating these two rows.
Binding Off & Finishing Your Project
Binding off (casting off) is the process of finishing your knitting and securing the stitches so they don’t unravel.
How to Bind Off
- Begin by knitting the first two stitches on your left-hand needle.
- Insert the left-hand needle into the first stitch you knit and lift it over the second stitch and off the right-hand needle. You now have one stitch remaining on the right-hand needle.
- Knit one more stitch from the left-hand needle, leaving two stitches on the right-hand needle.
- Continue to pass the first stitch over the second stitch and knit one more stitch, repeating until you have only one stitch left.
- Once you have one stitch remaining, cut the yarn, leaving a few inches of tail. Thread the tail through the last stitch, and pull it tight to secure.
Your work is now bound off and the stitches won’t unravel! You can also weave in the end to hide it.
Weaving in Ends
To make sure your work looks neat and the ends are absolutely secure, you can weave in the yarn.
- Thread the tail of your yarn through a tapestry needle.
- Insert the tapestry needle into the back of your work, along the path of the yarn within the stitches. This will help to hide the tail within the knitted fabric.
- Weave the needle back and forth through the stitches for about an inch or so. Make sure it's not too tight, as this can distort the fabric.
- Once you've woven in the tail sufficiently, cut any excess yarn, leaving a short tail that won't come undone.
You can repeat the same process for any other loose ends in your work.
Blocking Your Work
Blocking is the final step in finishing your project. It makes a huge difference in how your finished piece looks and involves shaping and setting it to its intended size.
Here’s how to block your work:
- If your yarn is suitable for wet blocking, fill a basin with lukewarm water and add a small amount of mild detergent.
- Gently submerge your knitting in the water, making sure it's fully saturated.
- Carefully press out excess water by rolling your work in a clean towel.
- Lay your knitting out on a blocking mat or another flat, clean surface. Use pins to shape it to the desired measurements. Pay attention to any patterns or stitch details that need to be defined.
- Allow your work to air dry. This can take some time, so be patient!
Once your knitting is dry, it will hold its shape, and the stitches will look more even and polished.
If you're eager to begin knitting or improve your knitting skills, and embark on a rewarding journey in this craft, consider enrolling in our Knitting Diploma Course for only £29 (save £118!). This comprehensive course offers invaluable guidance for beginners, and takes students from novice, to designer, to business-owner, through 17 fully-illustrated, hands-on modules and video demonstrations. Happy knitting!