Pretty much everyone loves chocolate. In the UK alone, it is estimated that 660,900 tonnes of chocolates are consumed every year. This equates to an average of 11 kgs per person per year. This equates to about 3 bars a week.
It is estimated that the chocolate industry is worth over £100 billion, and with the recent popularity of influential chocolatiers, such as Amaury Guichon and his show School of Chocolate, there seems to be more focus on this delightful treat now than ever before. While everyone loves chocolate, not everyone knows where it comes from...
Before you take a bite of the next piece of delicious chocolate, you may want to consider how chocolate is made. The journey from cacao bean to chocolate bar is actually quite complicated. In this blog post, we’ll detail exactly how chocolate is made step by step and touch on where chocolate comes from and when it was invented.
Jump to:
Step 1- Cacao Cultivation
The origins of chocolate can be traced back over 5,000 years, so there has been enough time to refine and develop the practice of chocolate making. But where does it all start? The journey of how chocolate is made starts with the all-important Theobroma cacao tree.
The tree grows within 20 degrees north and south of the Equator, and it usually thrives in tropical climates because of its mixture of hot temperatures, spontaneous rainfall, and overabundance of shade.
The Theobroma cacao tree is a small, wide-branching, evergreen tree commonly found in areas of Central and South America, Africa, and Indonesia. It typically grows in the wild with glossy, oblong, drooping green leaves. Each tree bears oval fruits, or pods, about 5-12 inches long, and each pod contains 30-50 seeds, which are commonly known as cacao beans. The large quantity of seeds per pod is especially useful when you consider that it typically takes 400 beans to make half a kilo of chocolate!
A common question about cacao cultivation is: what is the difference between the terms cocoa and cacao? While both refer to the beans or seeds extracted from the Theobroma cacao tree, the main difference lies in the fact that they refer to the beans in two different stages of the production process. The tree, pod, and bean or seed are typically called cacao, while the word cocoa is reserved for the bean after it has been fermented, dried, and roasted.
Recommended for you!
Best Sellers


Step 2- Harvesting
The second stage of chocolate production is harvesting. As previously alluded to, chocolate is made using cacao beans extracted from the Theobroma cacao tree.
Flowers can bloom throughout the year, and it is unique for the tree to have both flowers and fruit simultaneously. The fruit, known as the cacao pod, requires an expert opinion to determine its ripeness for harvest. Harvesting is typically done by hand to avoid damaging the bark, which is crucial for future flower production. Harvesting done by hand must be done with absolute care and attention to detail, and a lot of experience is usually required to perfect the process.
Cacao pods are usually considered ripe when they turn a vibrant yellow or orange colour. These pods, which hang from the trunk and largest branches on small stems, are typically harvested twice a year. But they can be harvested throughout the year if needed.
After harvesting, the pods are opened to extract the beans and pulp. A fun fact about these pulps, which are commonly called baba, is that in Latin America, they were used to make fermented cacao wine as early as 3,000 years ago.
Step 3- Fermentation
As soon as the pods are opened, the beans and pulp are exposed to oxygen, and the fermentation process begins. Fermentation is extremely important as the process breaks down the coat of beans, killing germs and bacteria. This step is also a vital step in developing the flavour of the beans.
The beans are cleaned by hand, with the baba left on, which is another technique implemented in order to enhance the flavour. When exposed to light, the cream-coloured beans will turn to a purplish colour.
At this stage, the beans are ready for fermentation in one of two ways. The first is the ‘heap method’, which is popular in Africa. The anaerobic process involves heaping the beans into a pile together on the ground and covering them with banana leaves to create an oxygen-free environment. The second process, which is very popular in Latin America, involves cascading boxes. Cacao farmers usually place the beans and pulp in special fermentation boxes with exhibit temperatures between 40-50 degrees Celsius. Again, the beans are covered with banana leaves, and the beams are turned and mixed every few days to ensure they receive enough oxygen and ferment evenly.
In both methods, the fermentation process lasts between 2-9 days and the beans start to take on colour and some of the flavours that you would commonly expect of chocolate.
Step 4- Drying and Shipping
After the fermentation stage, the beans have a high level of moisture. This must be reduced in order to avoid over-fermenting. Most cacao farmers place the beans on wooden boards or bamboo mats for anywhere from 7 to 14 days under the hot sun. They are then continually raked and turned over for consistent drying.
In significantly wetter climates, this technique is not possible, so alternative drying methods are used. For example, beans are dried on open fires in Papua New Guinea, which gives them a distinctly smokey flavour.
Once the beans are dried, they are graded, checked for quality purposes, and then packed into sacks. From here, they are shipped to chocolate makers all over the world.
Step 5- Roasting
When the bags or sacks of cacao beans arrive at the chocolate factory, the next stage of chocolate production, the roasting process, can begin.
The cacao beans are first sorted to remove debris, such as small rocks, twigs, or beans that became mouldy during transit. Once the beans have been sorted, they are ready to be roasted in the oven. The exact temperature at which beans are roasted will depend greatly on the type of bean or their average size.
Roasting cacao beans is another crucial step in developing chocolate's signature flavour. It also kills any lurking bacteria that have not already been killed during the fermentation process while simultaneously helping to loosen the bean's outer shell.
Step 6- Winnowing
After the cacao beans have been roasted, their thin outer shells begin to separate from the cacao nibs. The shells are winnowed from the nibs using jets of air. These cacao nibs are used in the production of chocolate, whereas the shells can be used for other purposes, such as making cacao tea or, rather surprisingly, garden fertiliser.
Step 7- Grinding
The next step of the chocolate-making process is the grinding phase. Cacao nibs, which are made up of cocoa solids and cocoa butter, are ground using a machine known as a mélangeur grinder. A mélangeur grinder has two spinning stone slabs that grind the nibs together. Here, the nibs first turn into a thick paste, which is commonly known as cacao paste or cocoa liquor.
The coca butter that is within the nibs will begin to melt as the grinder continues to break them down. The longer chocolate is ground, the smoother the liquor becomes. Some chocolate makers grind their chocolate for days to achieve an exceptionally smooth texture.
The ingredients added during these steps will largely depend on the type of chocolate being made. If you were to make relatively plain dark chocolate, all that is required is cocoa mass, cocoa butter and sugar. If you were to make milk chocolate, the only addition to these ingredients would be adding milk powder.
If you are a white chocolate lover and have ever wondered how its ingredients differ from dark and milk chocolate, the only ingredients for white chocolate are cocoa butter, sugar, and milk powder. However, note that there is no cocoa mass or liquor. Interestingly, because white chocolate does not contain cocoa mass, some chocolatiers do not consider it true chocolate.
Additional ingredients such as sugar, milk powder, or vanilla are often added during this process. Extra cocoa butter may also be included, enhancing the chocolate's creamy mouthfeel.
Once the desired consistency is achieved, the chocolate is poured into large containers to cool and set. Some chocolate makers allow their chocolate to age for several weeks to develop a richer flavour.
Step 8- Conching
Conching is an important step in the process of producing consistent, pure, and delicious gourmet chocolate. Conching is a careful process of rolling, kneading, heating and aeration. A conch is a large agitator that stirs and smooths the mixture under heat. For many, if they were to paint a mental image of chocolate production, they would picture this- a very large container mixing the liquified chocolate. It is also at this point that soy lecithin and cocoa butter may be used to ensure the required fluidity.
Step 9- Tempering
As we near the end of the chocolate-making process, there are still a few steps left to produce a delicious bar of chocolate. One of the final hurdles is tempering. Tempering is when the chocolate is put into blocks or drops, called postholes. Here, the temperature of the chocolate is lowered and raised to alter the crystals within the fabric of the chocolate.
Untempered chocolate is usually dull and crumbly, whereas tempered chocolate is shiny, firm, and has a recognisable snap. It may surprise you that tempering chocolate can actually be performed at home by an inspiring baker or chocolate maker. This is because tempering was traditionally done by hand. However, most modern chocolate manufacturers use tempering machines to perform the technique today.
Step 10- Moulding
Once the chocolate has been successfully tempered, it is ready to be poured and moulded into a form of the chocolate maker's choosing.
To achieve the desired form, the moulds are shaken or tapped against a hard surface to remove air bubbles. They are then set aside to cool down. As the chocolate cools, it begins to solidify, and it will then start to look like a traditional bar of chocolate. Before being shipped to shops, the chocolate is wrapped in the appropriate packaging, which is usually the signature branded packaging of the chocolate manufacturer. Now, for all intents and purposes, the chocolate-making process is finished.
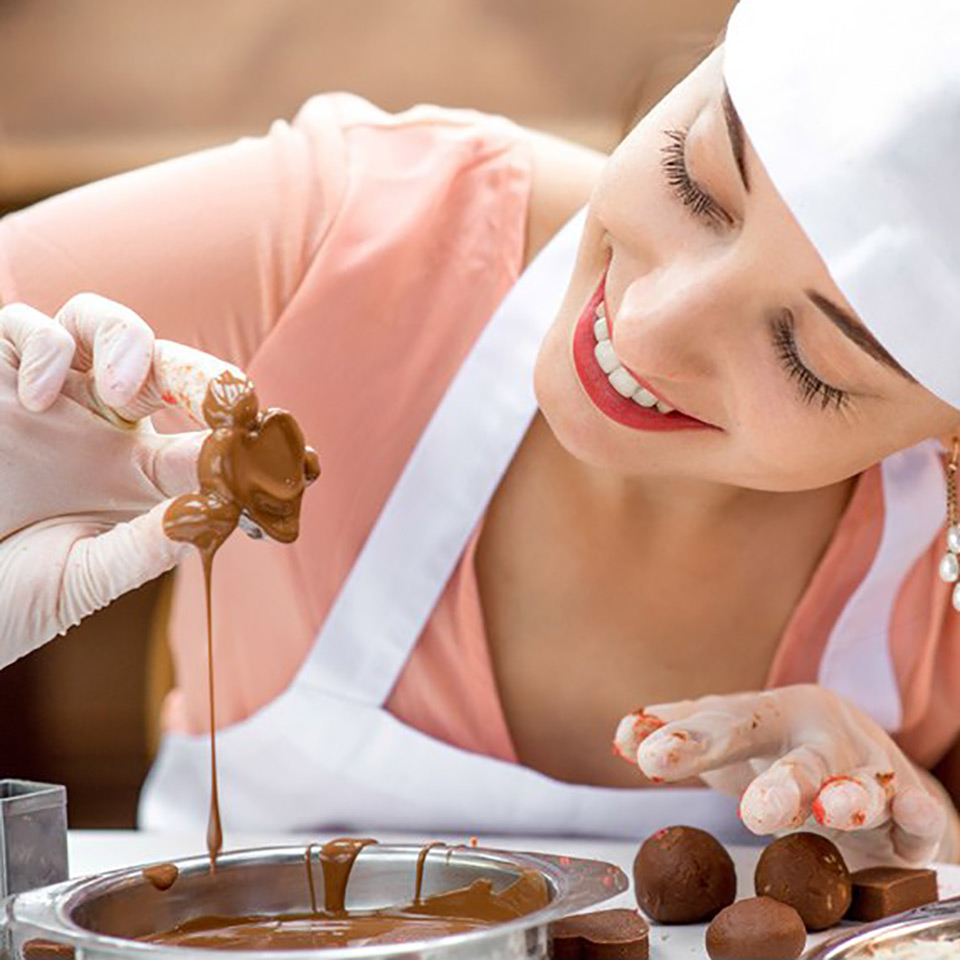
Step 11- Time To Get Creative
Of course, when we say ‘finished’, we know this is largely subjective. Many chocolatiers, bakers, chefs and experts are always finding new ways to produce and consume chocolate. With chocolate, you can really put your own spin on it.
From the famous chocolate bunnies and money to various unique packaging methods, the possibilities are endless when it comes to putting the finishing touches. From simple bars to versatile and elaborate chocolate sculptures, there is much that can be done with chocolate.
Want to Learn More About Chocolate?
We hope our guide has given you some much-needed insight into how chocolate is made. Do you want to learn more about chocolate? Then why not enrol in our raw chocolate video course today? You can access this course for the incredible discounted price of £29 (instead of the original £127). Whether you simply love chocolate and want to learn more about how it is made and produced, or you are an inspiring chocolatier, this course will be perfect for you.